If you are uploading student/member photos into your system you have the option to add a Photo-Release Consent option into your waivers. Following the steps below you can see how to add a consent for photos into your waivers or even edit the consent for an individual manually.
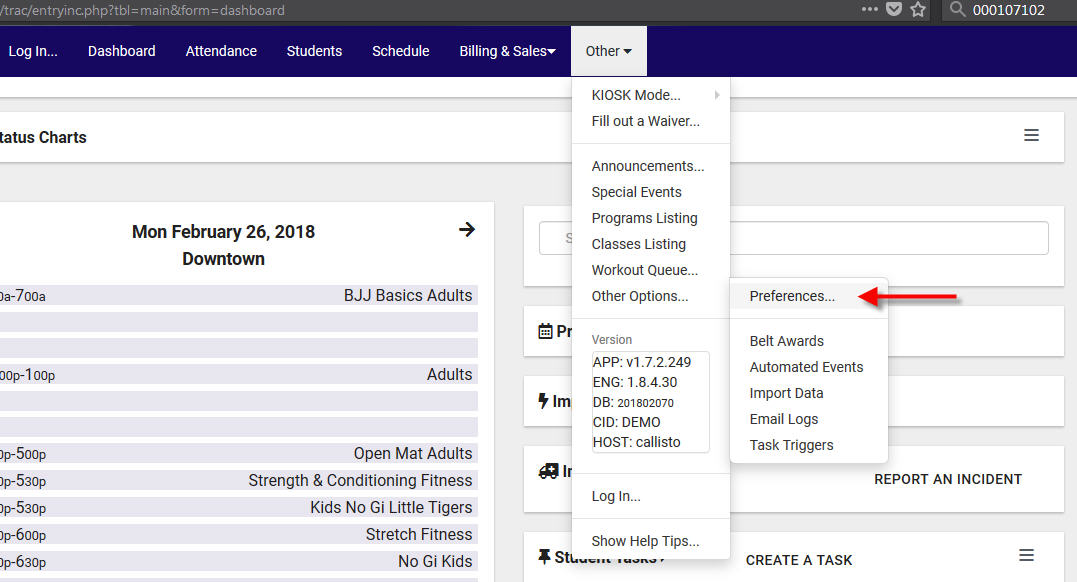
First you will want to start on your Dashboard and choose Other. Next click “Other Options” and then “Preferences…”.
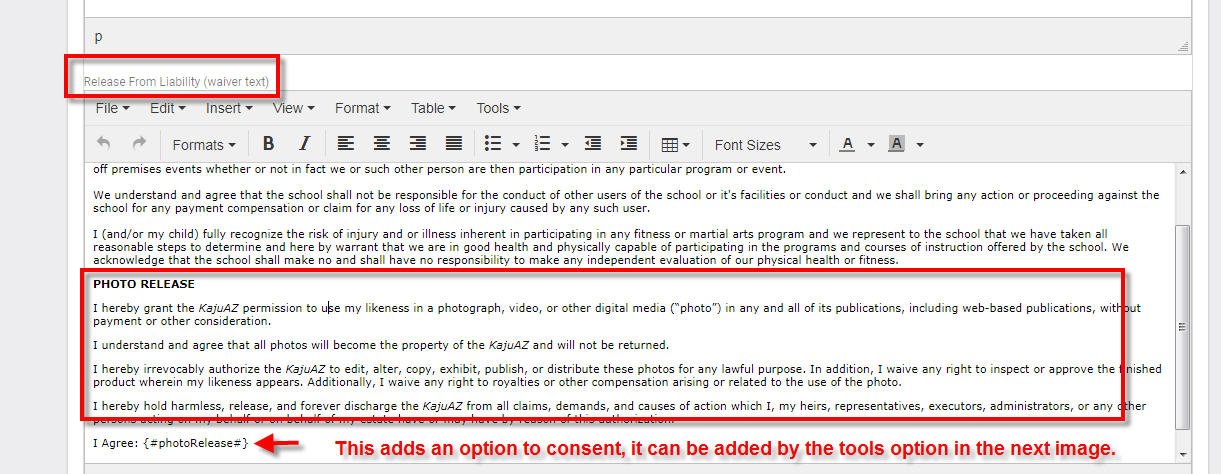
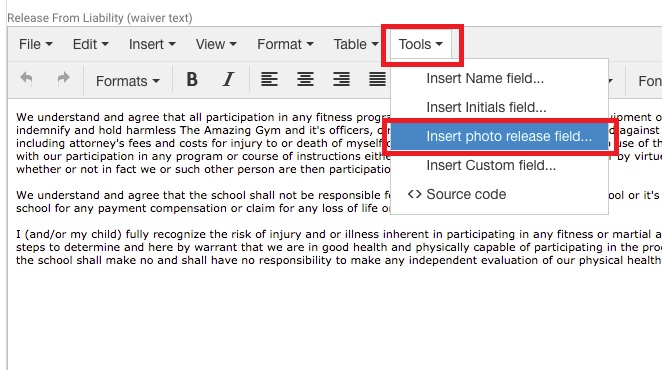
This will take you to the Preferences page where you will have several categories. Choose the Waiver Setup option to edit your Waiver. If you scroll down to the Release from Liability portion of your Waiver you can add in your text for the Photo Release, something similar to what is shown in the first image below. You’ll note below that text there’s a line that says “I Agree:” followed by a photoRelease tag. This tag adds the option to consent or not into your waiver. You can add this by going to Tools and choosing “Insert photo release field…”
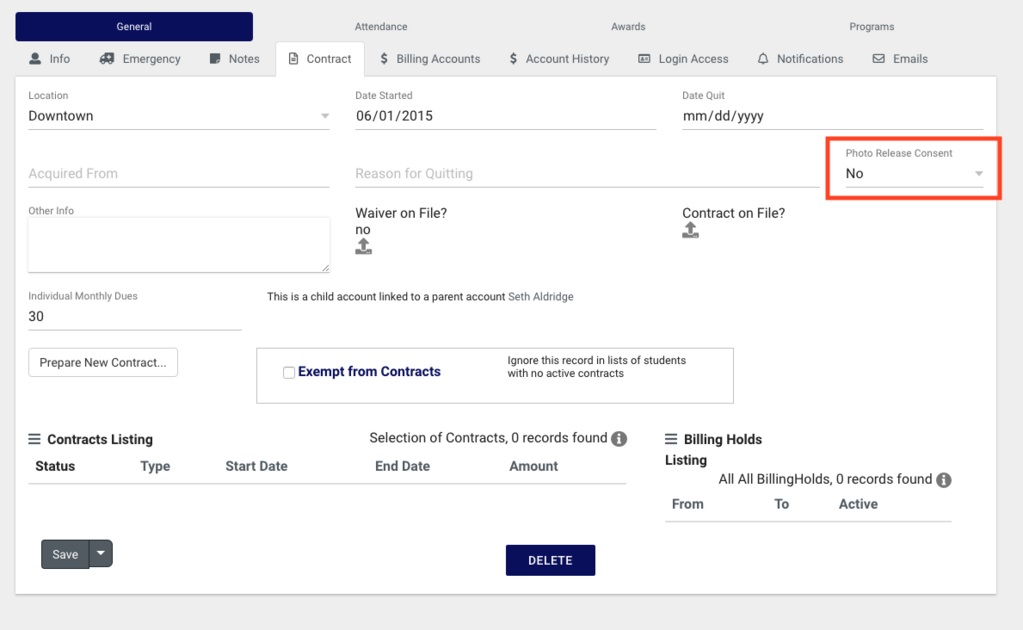
Once you add the field into your waiver it will allow students to agree to the release or not when filling out the waiver. You can also go to a student’s Student Entry screen, choose their Contract, and edit the Photo Release Consent setting manually. To do so you can choose your Students/Members option from your Dashboard. Then search for your student and click on their name. Their Student Entry will open up where you can go to their Contract:
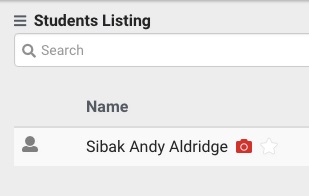
If a student does not consent to the Photo Release then they will be flagged on your Students Listing with an icon: