Custom Forms
You have the ability to create a custom form where visitors to your web site can enter data into the form and that data can be sent to an email address with all the form data.
Create a Custom Form
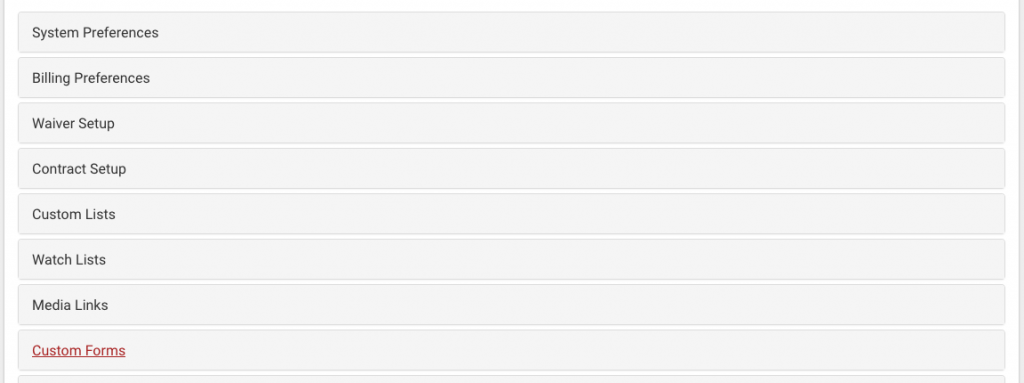
To create a custom form, go to the System Preference and click on the Custom Forms option:
The Custom Form area will open up, showing any previously created custom forms. You may create as many custom forms for as many different uses that you need.
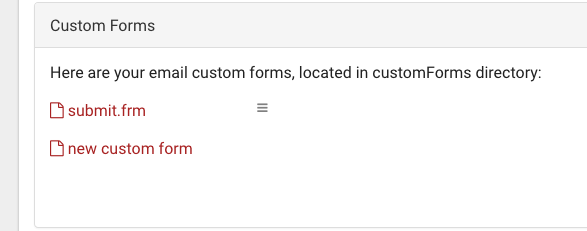
In our example here we have one custom form named submit.frm.
We can click on the form to edit it or we can click on the “new custom form” button to create a new form.
Form display and handling preferences
The top area controls some formatting options regarding how to display the form on the website where this form is embedded. It also controls the email address where the data from the form will be sent to.

Make sure you have a meaningful subject and a valid email address entered into the submission subject and submission emails fields.
- Hide App Bar indicates that you would not like a colored bar at the top of the form that is formatted like your myBJJ.cloud or myDojo.cloud system. Sometimes this bar can be distracting if it does not match the look and feel of your website.
- Hide form frame is used to hide the border that is automatically drawn around the form. This too can be distracting if your website utilizes other bordering and framing characteristics.
- Submit button title allows you to name the button the visitor will click when submitting the form data.
After the form data is submitted the system display a message to the visitor, this message is entered in the “Submission message” field.
You may also prevent robots from auto submitting your form by adding the ‘I am not a robot’ option. This simply displays a simple math problem that the visitor must read and answer prior to submitting the form. Don’t worry, they’re really easy!
Form Body
The Lower area is where you will enter the text of the form, the Form Body. You will need to display text to inform the user what data is being requested to be entere. You will also need to create input fields for receiving the requested information that are named in a fashion to have meaning to you when the form data is sent to you.
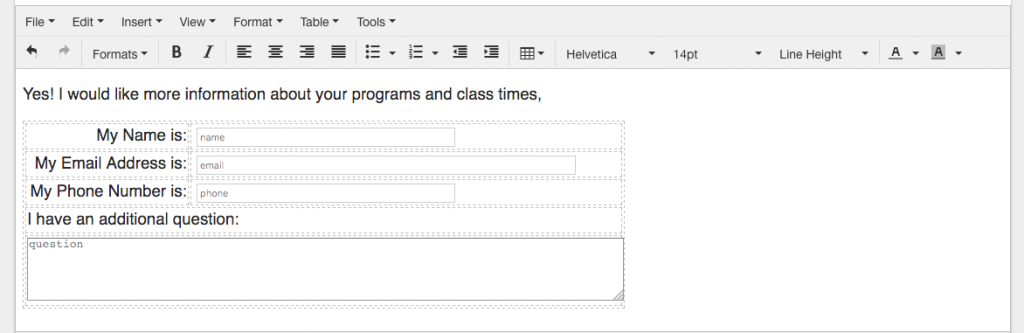
Insert text by typing, or copy and paste. Format the text using the various formatting commands in the top bar.
Input fields are used to capture information from the web site visitor and you can either insert an entry field or a text area field. Entry fields are single line text input boxes and text areas are multi-line text entry areas.
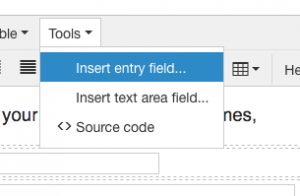
Use the tools menu to insert an entry area wherever the cursor is at:
After choosing Insert entry field, the field name and size dialog appears:
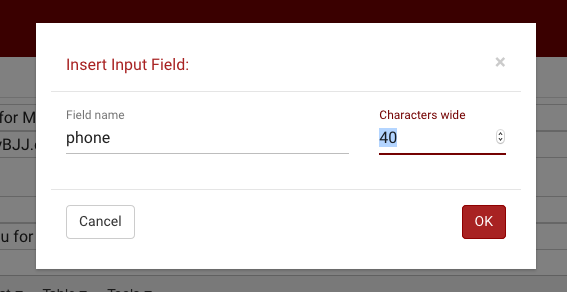
Name the field whatever you want and specify the width of the field in number of characters. Click OK to insert the field into your custom form.
Make sure you save the form as you work to update any changes you have made in the form entry area, so you don’t lose your changes!
Previewing the Form
The lower area of the Custom Form Entry shows where the custom form is located and this is the link you would give to your web master for inclusion on your website:

To preview the form as it looks now, just click the URL and see the results in a new window:
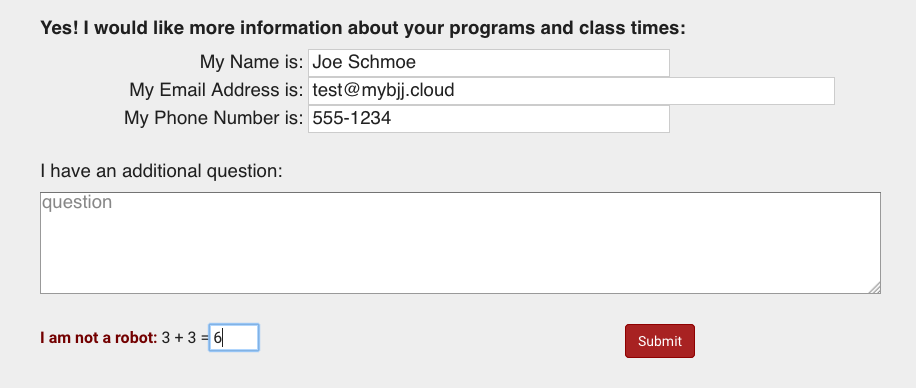
After entering data into the form and clicking submit,.
When the user enters the information in the form and clicks the submit button (they may need to enter the answer in the I am not a robot field), the email address that was set up for this form will receive the data, and the user will get a confirmation message.