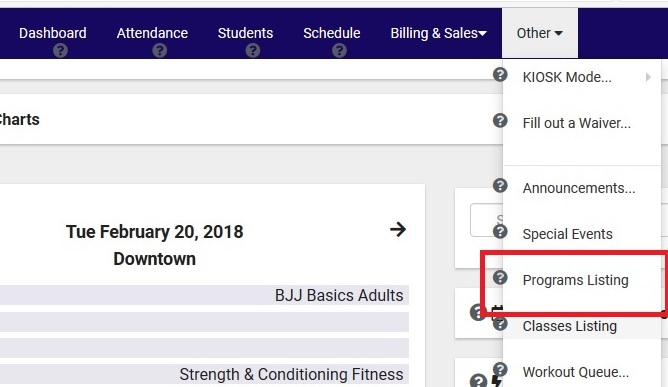
Once you have a Program created we can add belt ranks that we want represented in your system. To do this you’ll want to head over to the Other option in your Dashboard and choose Programs Listing:
Next you’ll see your existing Programs listed. Select the Program you’d like to add belts to by clicking on its name. This will take you to the Program Entry page for that Program: 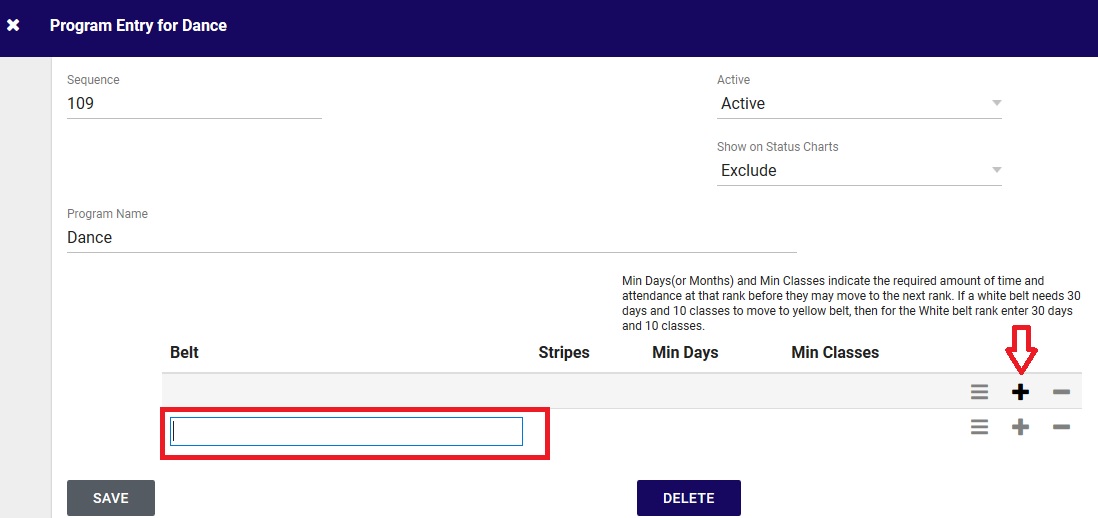
You may notice that you don’t have any belts listed yet. To add a belt you can click on the “+” symbol on the right hand side, doing so will bring up text box for you to type the name of the belt. Once you have typed the name of the belt you can press TAB on your keyboard to move over to the Stripes field. After entering the stripe number you can press TAB again to move to the Min Days field and one more time to move to Min Classes.
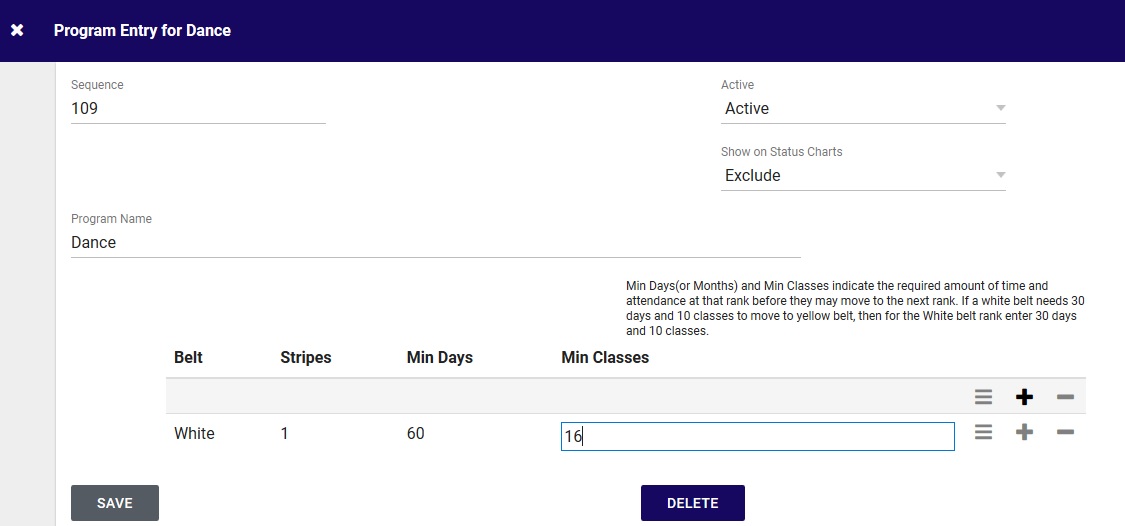
If you’d like to add another belt you can click the “+” again or you can remove a belt by clicking the “-” symbol. You can create multiple belts with the same name but different number of stripes to represent progression through a belt rank.
Once you are done creating your belts make sure to click SAVE to save your new belts!