Using Email Templates is a great way to making contacting/informing your students quicker, easier, and all around more efficient. So how do we create Email Templates?
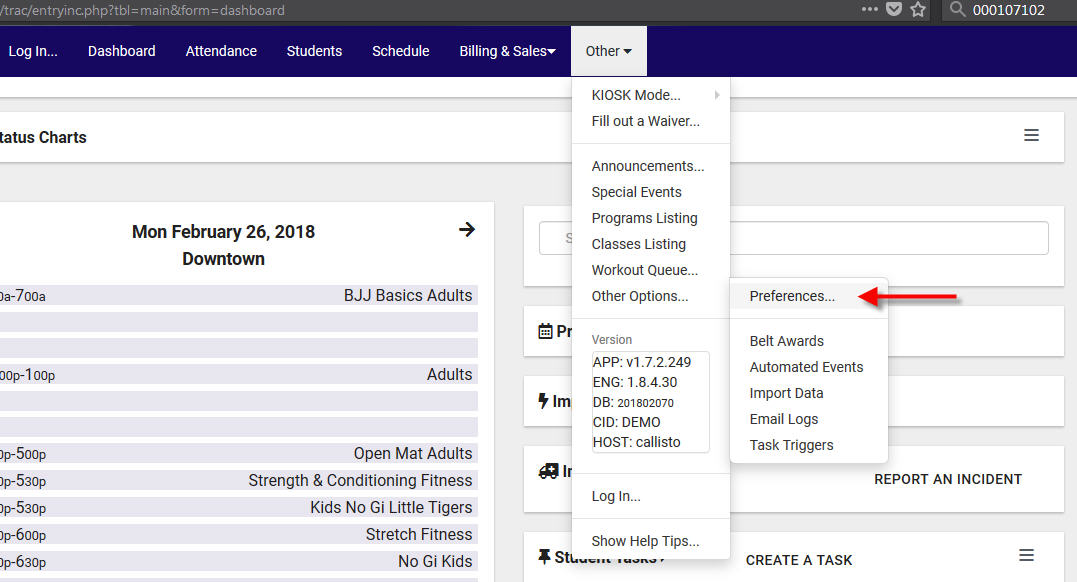
First you’ll want to start at your Dashboard and click on Other –> Other Options –> Preferences. This will take you to the Preferences page.
Once you are looking at the Preferences categories scroll down and click on Email Templates to expand that section of preferences.
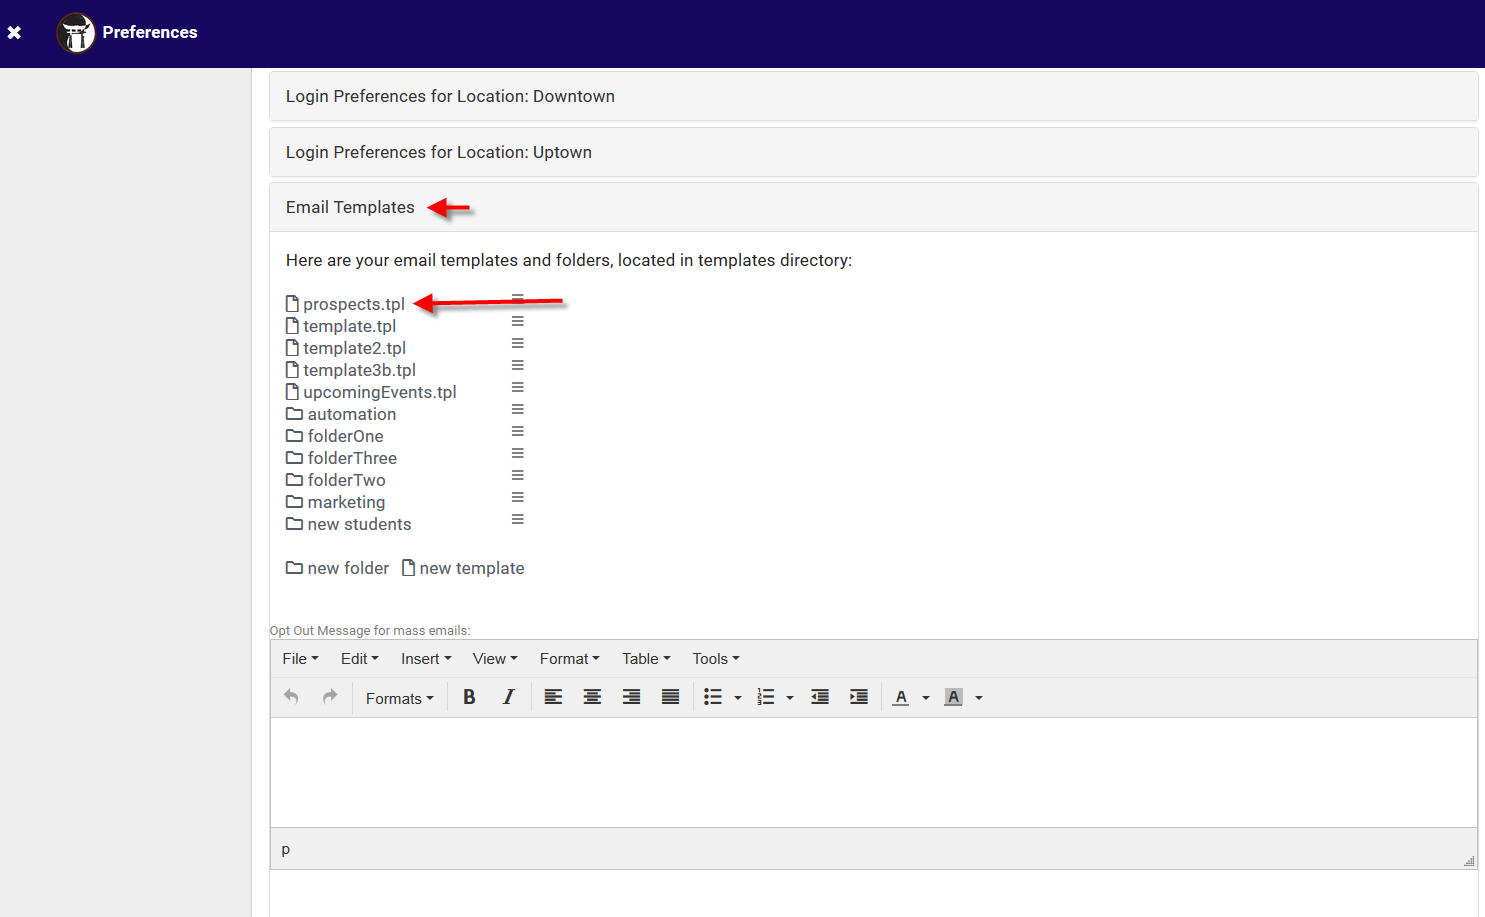
Here you can create folders to organize your templates or click “new template” to begin a new one. In this example we’re going to click on “prospects.tpl” template.
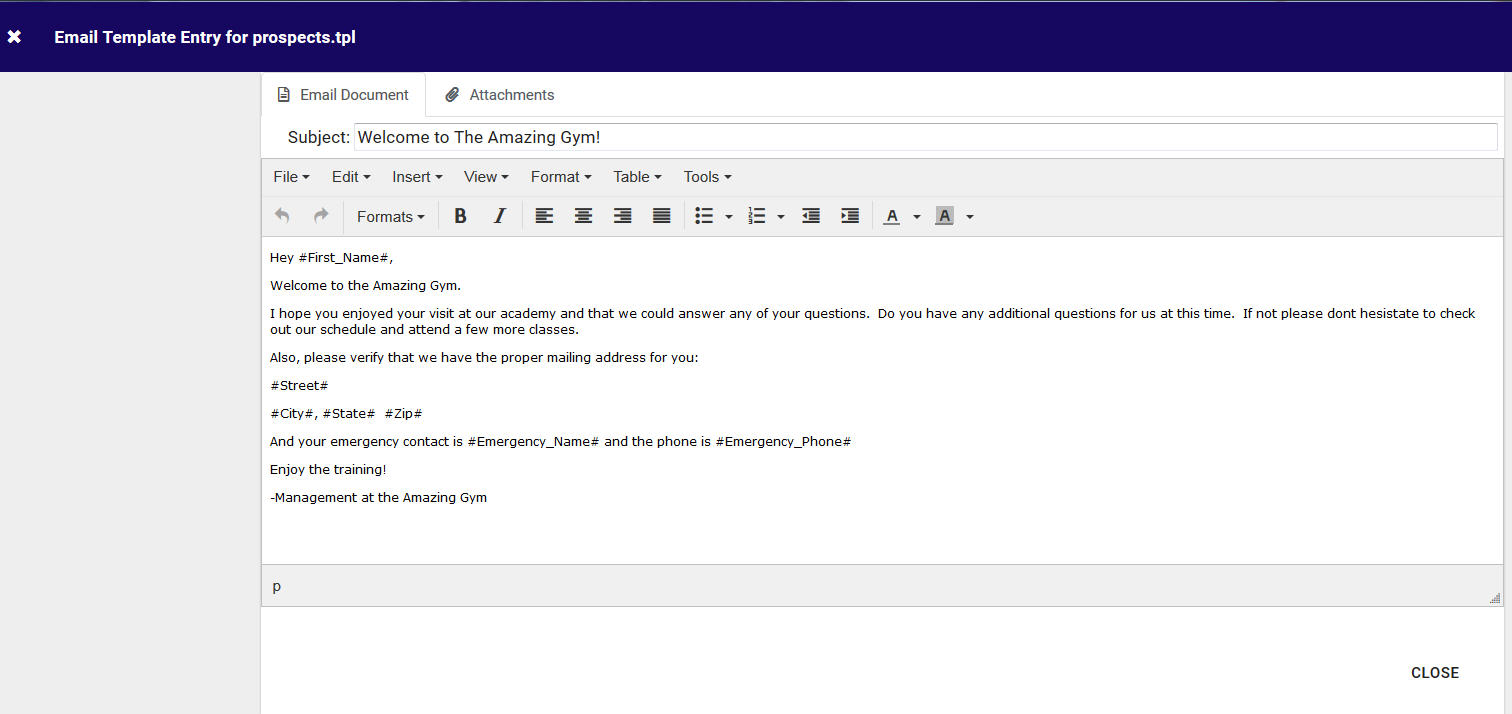
Here we can edit the template and even include some of the tags you may have noticed in the image above to bring in student information. Once you have edited your template you can click the CLOSE button in the bottom right to close and save it.
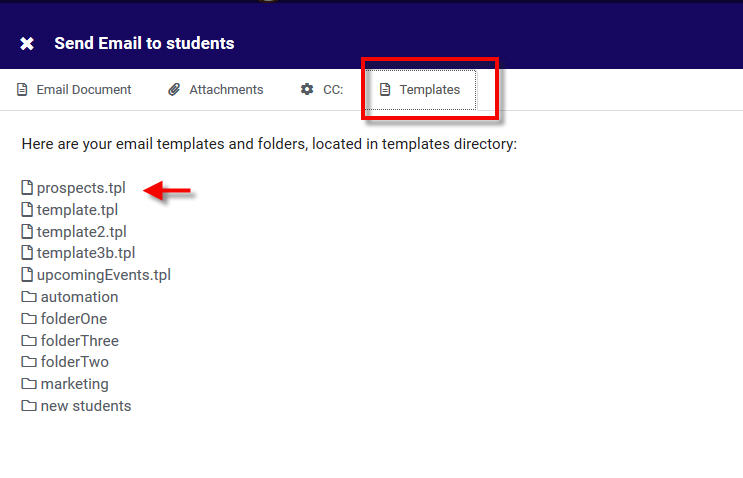
You can use these templates in sending emails to students. To do so you can click on the menu button in the top left of your Students Listing and choose “Send Email…”.
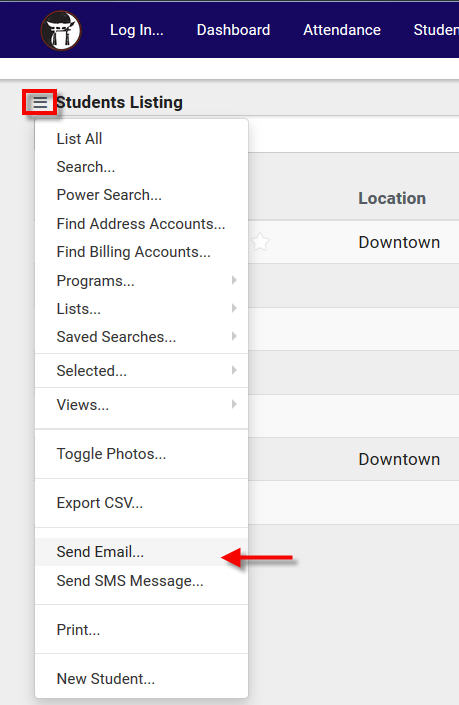
Once you choose Send Email a window will appear where you can click on the Templates option which will reveal available templates for use.